What You’re Actually Seeing in the Cockpit
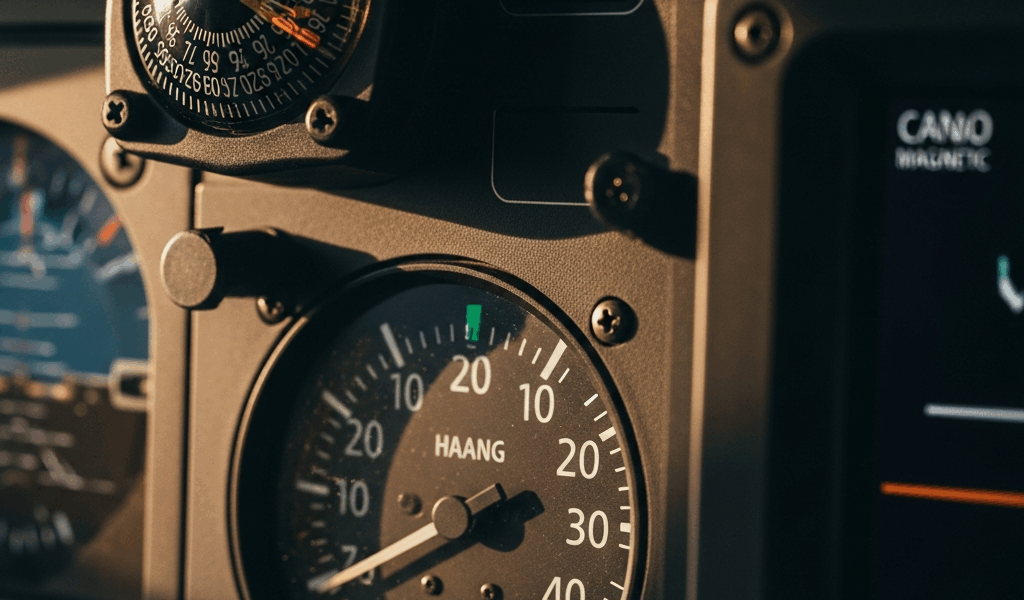
Heading indicators have gotten complicated with all the anxiety flying around them. Your heading reads 180 degrees. You roll the wings level on final approach and maintain altitude with hands off the yoke for a moment. Ten minutes later, without any turns, it shows 185. That creeping five-degree drift feels catastrophic — at least if you’re not familiar with what’s normal.
I’ve watched pilots genuinely panic over this exact scenario. They assume the directional gyro is broken, start calculating whether they can even reach their destination, and radio ahead about maintenance. Half the time, nothing is actually wrong. What they’re observing is completely normal gyroscopic precession combined with the way older vacuum systems age. It happens to everyone.
Here’s what matters: is your heading indicator drifting during level flight only, or does it seem worse during turns and banks? That one detail tells you almost everything you need to diagnose this yourself.
Normal precession means the instrument drifts slowly — typically one to three degrees per 15 minutes during straight and level flight. That’s not a defect. That’s physics doing its thing. Your vacuum-powered gyroscope can’t maintain perfect alignment forever, and the FAA knows it. Actual failure looks completely different: a heading indicator that spins freely, won’t hold a heading at all, or drifts more than three degrees every 15 minutes.
Before you panic, grab your vacuum gauge and your POH. The answer is probably sitting right there on the instrument panel. Probably should have checked it first, honestly.
The Two Root Causes Pilots Mix Up
Vacuum System Degradation and Gyroscopic Precession
Your directional gyro relies on a vacuum pump pulling air through the instrument. That airflow spins the rotor inside at roughly 10,000 RPM. As it spins, the rotor resists changes to its axis of rotation — that’s gyroscopic rigidity. But nothing is perfect. Small friction losses and bearing wear cause the rotor to precess gradually. Over time, as your vacuum pump ages, suction pressure drops slightly, and precession gets noticeably worse.
Most general aviation aircraft use vacuum pumps designed to hold 4.5 to 5.5 inches of mercury. I’ve seen airframes running at 4.2 inches, and the heading indicator on those planes drifts like crazy. Your POH will tell you the acceptable range for your specific aircraft. Check your vacuum gauge at cruise. If it’s below spec, that’s your answer right there. If it’s within limits and the heading indicator still drifts, you’re observing normal precession — nothing more.
Gyroscopic precession is predictable. It happens continuously at the same rate during level flight. You can set your watch by it if you’re patient enough.
Magnetic Compass Error During Turns
Here’s where pilots get genuinely confused. A magnetic compass doesn’t behave like a heading indicator at all. During a banked turn, the compass lags, overshoots, and lies to you completely. During acceleration and deceleration, it swings in the opposite direction you’d expect. Many pilots unconsciously trust their heading indicator more during turns, then notice the gyro seems to drift when they roll back to level flight and the compass finally settles in.
That settling-in period isn’t the heading indicator failing. That’s the compass catching up to reality. If your drift problem happens primarily during or immediately after turns, your heading indicator is probably fine. The magnetic compass is just doing what magnetic compasses do — being unreliable in anything but straight and level, unaccelerated flight.
Ask yourself this: Does your heading indicator drift at the same steady rate during all straight and level flight segments, or does the drift seem to accelerate after turns and then level off? If it’s steady drift all the time, suspect vacuum system wear. If it’s erratic and turns seem to make it worse, suspect compass error being mistaken for heading indicator failure.
How to Check Your Vacuum System Without Grounding the Plane
Caught by poor planning, I once diverted to a busy airport because I was absolutely certain my heading indicator was failing. I landed, sat down with the POH, and discovered my vacuum pump was running at 4.3 inches. Well within limits. I’d just been overthinking normal precession. Don’t make my mistake.
In flight, here’s what to actually do:
- Read the vacuum gauge during cruise at steady altitude and airspeed. Don’t check it during climbs or descents — vacuum fluctuates with engine load. Note the exact reading. Typical spec range is 4.5 to 5.5 inches of mercury, but your POH might specify something different.
- Listen to the suction sound. Vacuum-driven gyro instruments make a subtle hissing noise. If that sound changes pitch — gets higher or sounds strained — the pump may be wearing out even if the gauge still reads in limits. Healthy suction sounds steady and consistent.
- Mark your heading and set a timer. Note your heading indicator reading. Let the aircraft cruise straight and level for exactly 15 minutes without any turns or altitude changes. Note the new reading. If it’s drifted more than three degrees, you have a potential vacuum system problem. If it’s one to three degrees, that’s normal and airworthy.
- Compare to the magnetic compass. If your heading indicator reading and magnetic compass reading match during level, unaccelerated flight, the gyro is functioning. If they disagree by more than 10 degrees, you may have a compass deviation issue instead.
- Don’t adjust anything. Inflight troubleshooting means gathering information, not making corrections. You can’t fix a vacuum leak in the air. You can’t repair the gyro in flight. Collect data and plan your next move on the ground.
If your vacuum gauge reads below 4.5 inches (or whatever your POH specifies), make a note and plan to land at an airport with maintenance available. If it reads within limits, you’re probably looking at normal precession. Continue your flight and schedule maintenance if the drift bothers you, but you don’t have an emergency on your hands.
The Magnetic Compass Correction You Can Do Right Now
Once you’ve ruled out a major vacuum system failure, the next step is realignment. Your heading indicator needs to match your magnetic compass periodically. This isn’t something that happens automatically. You have to do it manually.
When you can realign: during straight and level flight, unaccelerated, with wings perfectly level. Not during turns. Not during climbs. Not over magnetic anomalies — power lines, mountains with iron ore deposits, or aircraft with lots of metal nearby. Find a calm segment of cruise where you can hold altitude and heading rock-steady for 30 seconds.
The realignment process takes five steps:
- Stabilize in straight and level flight. Hold wings level, maintain altitude, and fly straight for at least one minute. Let your magnetic compass settle completely.
- Note your magnetic compass heading. Read it carefully. Magnetic compasses have backlash and parallax error, so read from directly above the compass card if possible.
- Locate the heading indicator adjustment knob. It’s usually on the bottom of the heading indicator or on the front face. Your POH will show you exactly where.
- Turn the adjustment knob until the heading indicator matches the magnetic compass. Turn smoothly. Don’t jerk it. It should take just a few seconds to dial in the correct heading.
- Verify the match. Glance at both instruments. They should read the same. If they don’t, make a small correction and check again.
That’s it. You’ve just recalibrated your heading indicator. This is a legal, normal, expected part of operating this instrument. Every pilot should know how to do this. It takes 30 seconds and requires zero tools.
Never trust your magnetic compass near metal objects, during turns, or while accelerating or decelerating. Only realign your heading indicator when your compass is giving you honest information. If you’re banking hard, don’t even glance at your compass. It’s lying.
When to Log It vs When to Fly It
The FAA permits heading indicator drift up to three degrees per 15 minutes of straight and level flight. That’s the regulatory definition of airworthy. If your instrument drifts less than that, you can legally continue flying. If it drifts more, you should document it and schedule maintenance.
Regulatory minimums and actual safety are different things, though. A heading indicator that drifts exactly three degrees every 15 minutes is legal but not ideal. I’d personally prefer something better — at least if you’re planning longer flights or flying IFR. A heading indicator that drifts one degree per 15 minutes is excellent and gives you no reason to worry.
Say your heading indicator drifts two degrees per 15 minutes, vacuum is within limits, and you have another 200 nautical miles to your destination. Document it in the logbook and call your maintenance shop. Fly normally — this scenario is fine.
Say your vacuum gauge reads 3.8 inches (below limits), your heading indicator drifts five degrees per 15 minutes, and you’re 50 miles from home. Head straight back and get the vacuum pump checked before flying again. This is a maintenance issue that needs fixing.
Say your vacuum gauge drops below 3.5 inches, multiple instruments start failing — attitude indicator tumbles, heading indicator spins — and you’re in IMC. You’ve lost the vacuum system. Declare, request vectors, and land at the nearest suitable airport. This is rare but serious.
Reference 14 CFR 91.411 if your aircraft is equipped for IFR flight. It requires your heading indicator system to be certified, but certification doesn’t mean zero drift. It means drift within acceptable limits. You’ll likely satisfy that requirement even with some normal precession happening.
One more thing: if you fly equipped with a G1000 glass cockpit, you don’t have a traditional heading indicator or vacuum system. That electronic heading source is far more stable, and you can trust it for much longer periods without realignment. Older steam gauges demand more pilot attention. That’s just how it is.




Stay in the loop
Get the latest aviation data updates delivered to your inbox.